vegan

Oat Smoothies

Looking for a real treat? These breakfast smoothies will have you pleasantly satisfied for hours. Heavier than our favourite vegetable/fruit smoothies, but another perfect way to start the day, especially for when ravenous and on the go. Basically, it’s your oatmeal breakfast thrown in a blender.

Oats are a great way to start the morning, packing a great punch of nutrients and minerals. High in carbs, oats are a great source of energy and strength to kick start your morning. Check out these percent daily values for 1/4 cup!Oats Nutritional InfoFor their in-depth nutrition profile, check it out here.

Here are two variations for you to try out – you are in for a treat!Oat smoothiesNutty Banana Oat

Blend – 1 1/2 cups unsweetened almond milk, 1 banana (ripe or frozen), 1/2 cup gluten-free rolled oats, 2 tbsp natural peanut butter or almond butter, 1/2 tsp agave, 1/2 tsp cinnamon, & 1/4 cup ice.Peanut Butter Banana Oat Smoothie

Blueberry Banana Oat

Blend – 1 1/2 cups unsweetened almond milk, 1 banana (ripe or frozen), 1/2 cup gluten-free rolled oats, 1/2 cup of fresh or frozen blueberres & 1/4 cup ice.

Blueberry Banana Oat Smoothie

Also, don’t be afraid to add in some greens to the Nutty Banana Oat! Everything is better when you add kale. I added in 2 cups and I barely noticed a change in taste. 
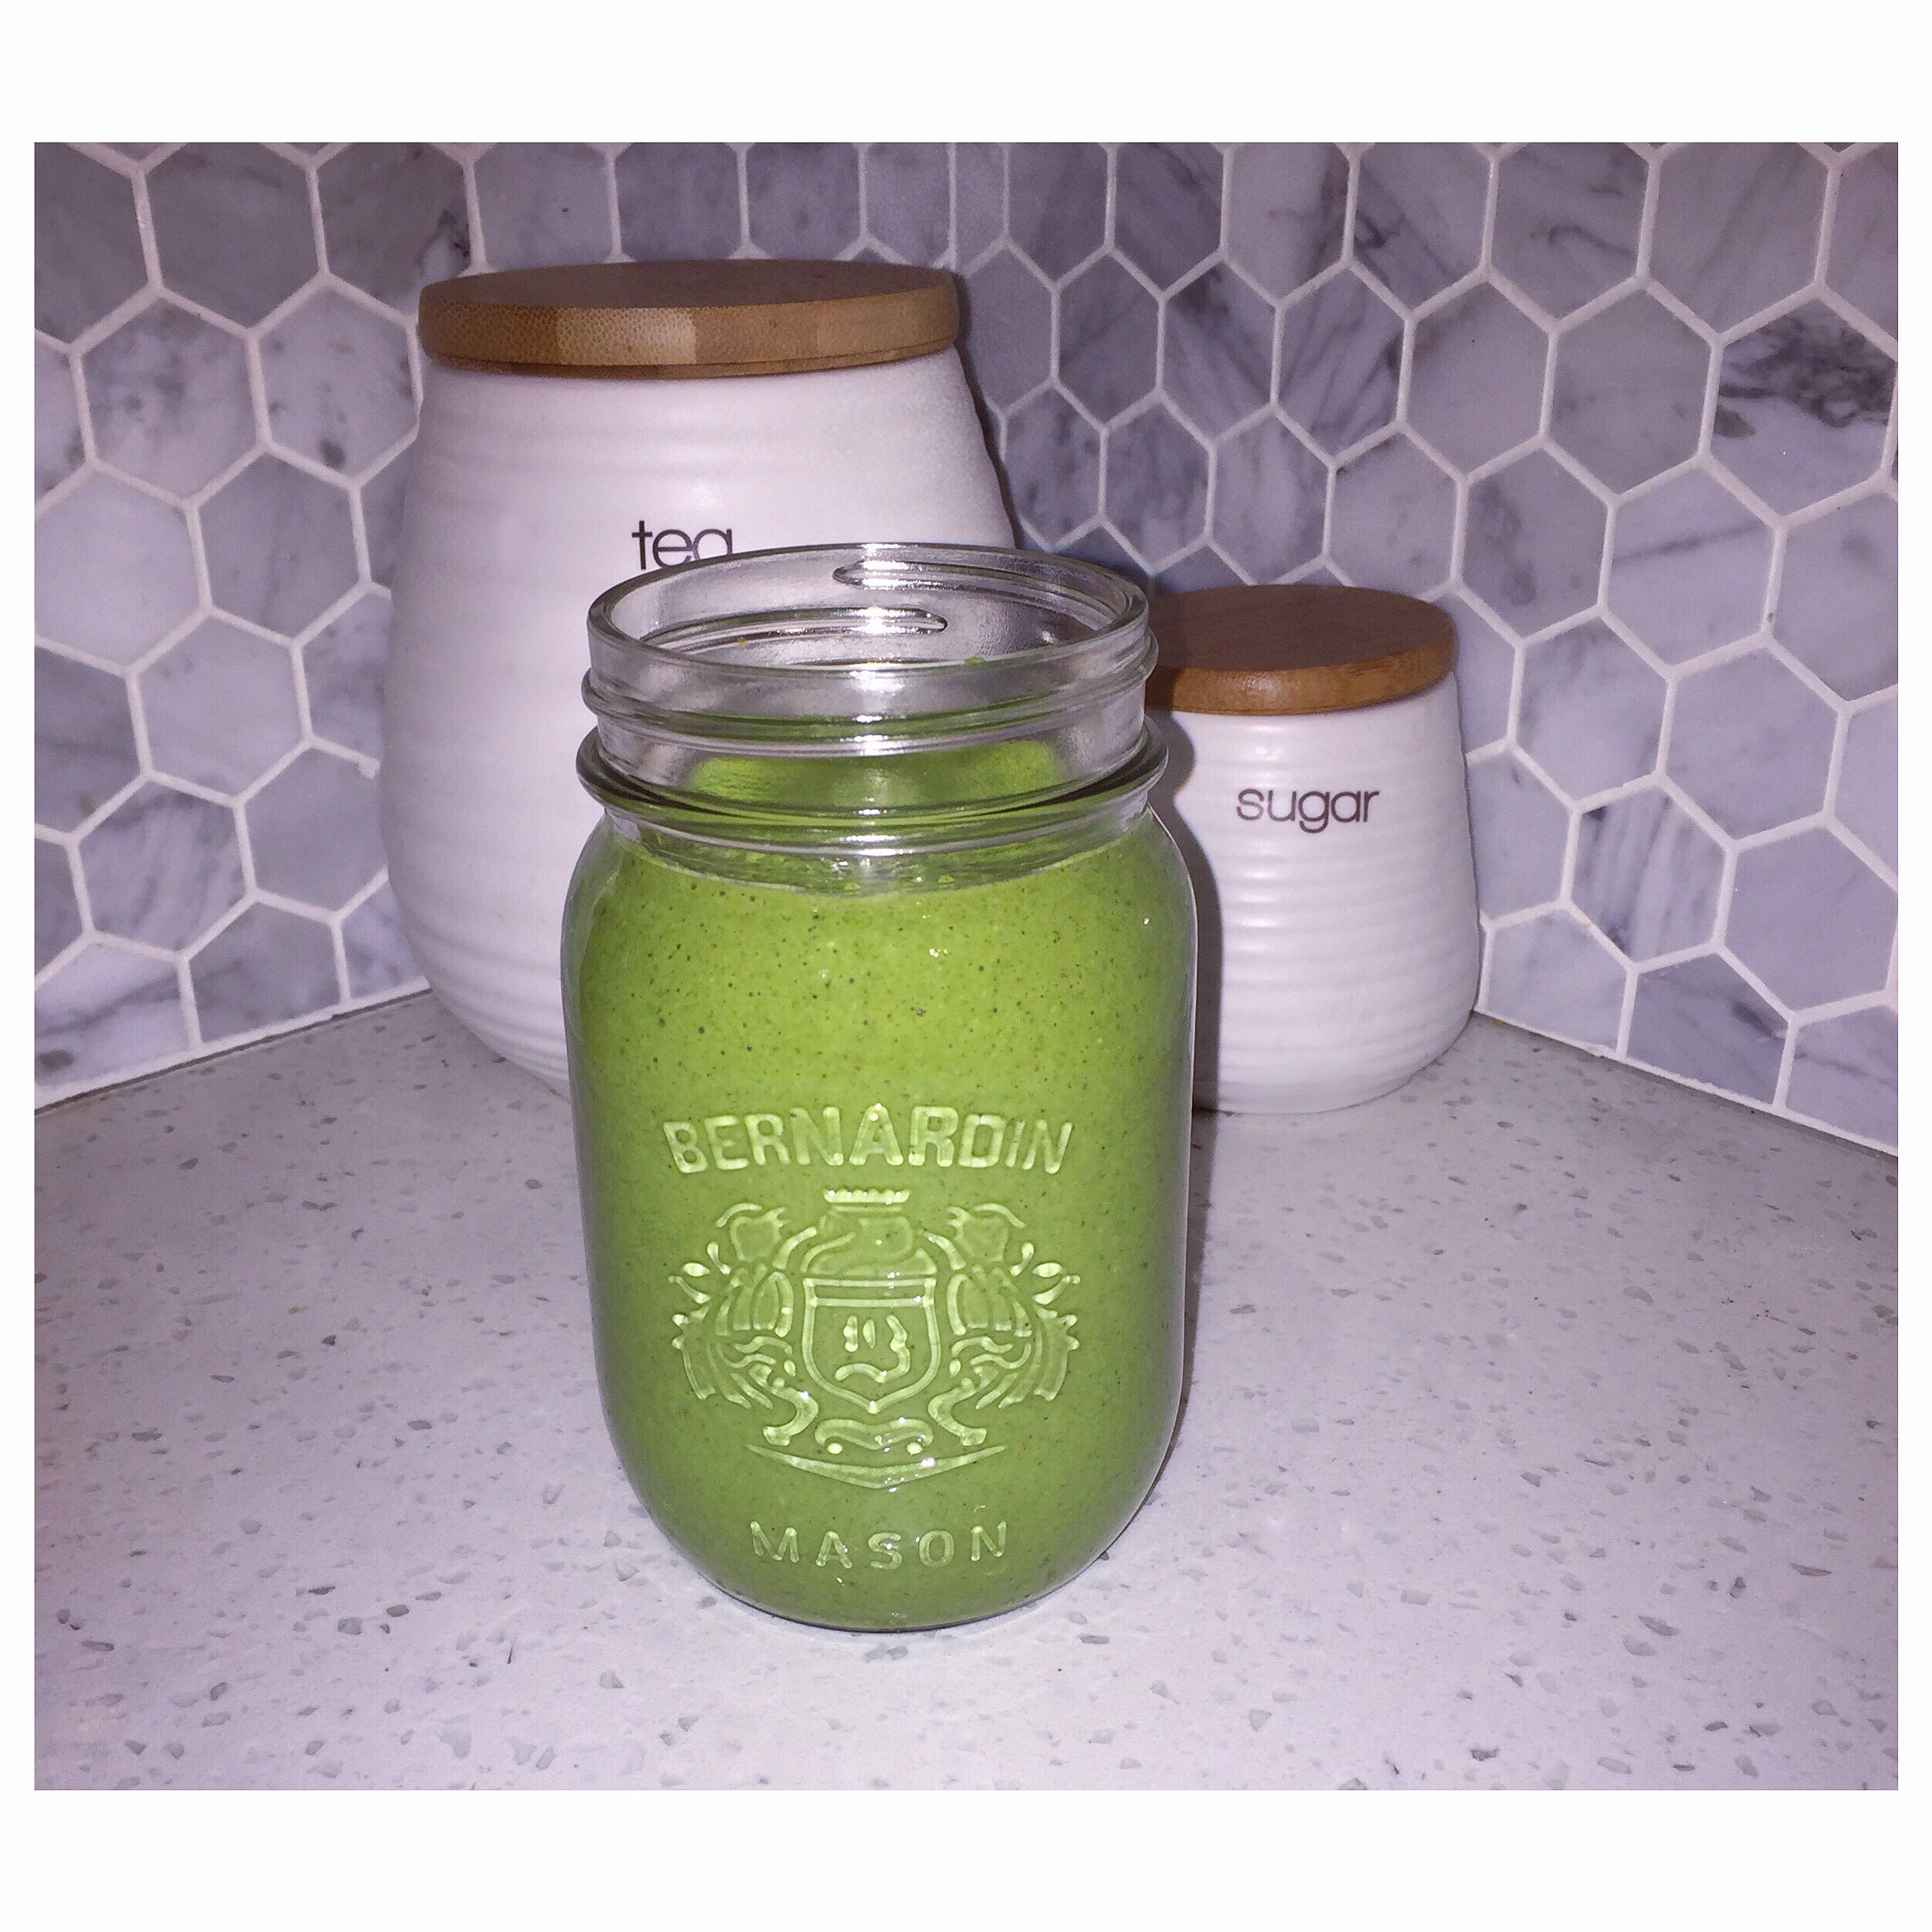
Give them a whirl and let me know your thoughts!

xx.

Parsnip Noodles with Roasted Butternut Squash & Kale

Happy Monday Friends! Hope you all had a beautiful weekend. 🙂

With the New Year already off to a busy start, I am trying to be more prepared when it comes to meals. Sundays are all about planning and prepping, freeing up extra time during the week.

Tonight’s dish was all about combining simple ingredients that are robust in flavour. At first glance, it looks like it probably takes a lot more time than it does. I promise you, that if you are prepared and know the recipe ahead of time, it is smooth sailing!

I don’t cook with parsnips often but am trying to incorporate them more to keep things interesting. This juicy nutty root veg is rich in healthy properties. From phyto-nutrients, vitamins, minerals and fibre. Plus it’s low in calories, fat, sodium and naturally cholesterol-free. Not to mention, super versatile when it comes to consumption!

Need more convincing? Check out these percent daily values:

Parsnip Nutritional Information

Now on to the deliciousness of tonight’s dish. This Parsnip noodle recipe comes from one of my favourite places to be Inspiralized – the definitive resource for cooking with a spiralizer. A few minutes exploring around Ali’s site and you’ll instantly be inspired by her wonderful and beautiful creations. This spiralized parsnips with roasted butternut squash and kale had me dancing in my kitchen with excitement, I was so inspired to give it a try.Parsnip Noodles with Roasted Butternut Squash & Kale

Easy to make, this recipe is really 3 simple components + a couple dashes here and there. Basically you just have to roast the squash, spiralize and cook the parsnips and wilt down the kale. Pretty basic steps. From here all you have to do is dress it up! (more details below on that). 🙂

Parsnip Noodles with Roasted Butternut Squash & Kale (yields two servings)

  •  1 cup cubed butternut squash
  • 1 tablespoon + 2 teaspoons of extra virgin olive oil, divided
  • himalyan sea salt and cracked black pepper, to taste
  • ½ teaspoon paprika
  • 4 parsnips, peeled and spiralized
  • 2 cups chopped kale (curly or laminate)
  • 2 garlic cloves, minced
  • crumbled feta to top (optional)
  • red pepper flakes, to topIngredient List
  1. Preheat the oven to 400 degrees. In bowl, toss butternut squash with 2 teaspoons of olive oil and season with salt, pepper and paprika. Toss to combine and once oven is preheated, lay squash on baking sheet and roast for 30-35 minutes or until tender.
  2. Ten minutes before the squash is done, place a large skillet over medium-high heat and add in the rest of the olive oil. Add in the parsnip noodles and let cook for 5-7 minutes or until cooked through. Transfer the parsnip noodles to a plate.
  3. In same skillet, add in the garlic, sauté for a 2 minutes and add in kale. Let cook until wilted, about 5 minutes and then add in the parsnip noodles and toss.
  4. Divide onto two plates and top with butternut squash, feta (optional) and the red pepper flakes.

Dive in! xx


Glowing Green Smoothie Bowl

Despite the wicked snow storm we were having early this morning, I had a bit of extra time and was feeling inspired. Since we rang in the new year, I’m finding muse in all the social sharing that is taking place with everyone’s new healthy 2016 regime – there have been some beautiful creations posted out there. With that being said, I wanted something different than my typical blend of fruits and veggies.

I recently organized my spice/toppers/baking/coffee/tea cupboard (yes this a thing haha) so I knew I had a handful of delicious add-in ingredients. So I decided to get creative and jazz up my smoothie with something beautiful and even more filling – a smoothie bowl!

I took some of my favourite toppers/ingredients – chia seed, coconut, hemp hearts, and strawberries and topped them onto my trusted Glowing Green Smoothie recipe (limit the water part to keep it on the thicker side).

What a simple and gorgeous dish to start off the morning – it definitely brightened my day!Glowing Green Smoothie Bowl

Be creative. xx

Vegan Eggnog

‘Tis the season for some festive cheer!

With Christmas Eve upon us, it is time to soak in all things festive the next couple days or week – if you are so lucky. Christmas movies, holiday parties, long dinners with family and friends, sipping on festive drinks around the fire, Christmas music lingering in the background – I absolutely LOVE this time of year! With the merry spirit filling our home, I wanted to share something perfectly appropriate for this Christmas Eve. And what could be more merry than the beloved Christmas drink of Eggnog!

To be honest I have never been a real fan. I love the idea of this signature Christmas beverage and EVERY year, I give it a try hoping that I will like it, and am always left disappointed. Until now! Granted this isn’t the traditional Eggnog that many of you love so much, but it’s the next best thing or in my opinion – better than! The My New Roots, Creamy Eggnog Milkshake is beyond delicious! (I’ve made a couple changes based on what I had available).

This rich and creamy egg-less Eggnog is perfect any time of the day. Let it be the star at your Christmas brunch, part of your cocktail mix, or dress it up for dessert, which is what I am going to do, (and I won’t judge if you enjoy it more than once).

What makes this drink super nutritious and full of protein, fibre, and calcium is the sesame seeds. I had no idea how nutrient packed these little seeds were. They pack a great punch of essential minerals – calcium, magnesium, zinc, selenium, iron and copper – so you don’t need to feel guilty if you down a glass or two. 🙂

So please give it a try, I guarantee it’s better than anything store bought.

Vegan Eggnog (yields 2 servings)

  • 2 frozen bananas
  • 3-4 dried figs
  • 3 tbsp sesame seeds
  • 2 tbsp hemp hearts
  • 2 cups water (you could also use milk of choice – but not necessary!)
  • 1 tsp ground cinnamon
  • 1/8 tsp nutmeg (freshly grated or ground)
  • 1/8 tsp ground clove
  • pinch of himalayan sea salt
  • 1/2 tsp pure maple syrup
  • juice of half of lemon
  • cinnamon sticks
  1. Place sesame seeds, figs and salt in a bowl. Cover with water and soak overnight or up to 8 hours. Drain and rinse well
  2. Place all ingredients in a blender and blend on high until completely smooth. Add spice to taste and water to desired consistency
  3. Pour and top with a sprinkle of cinnamon and a cinnamon stick

Vegan Eggnog

Happy Ho Ho! xx

Cauliflower Chickpea Tacos

Cauliflower is seriously underrated and often overlooked. I’m hear to tell you it’s not! It’s neutral flavor and versatility makes it an ideal choice to spice up, season and prepare to exactly how you like.  Not to mention it’s low in cost and has great nutritional content.

This cruciferous vegetable is an excellent source of Vitamin C, K, B6, fibre, folate, pantothenic acid,and manganese. Low in saturated fat and cholesterol, cauliflower is also a good source of protein, thiamine, riboflavin, phosphorus, and potassium. All these powerful properties help reduce the risk of cancer, most notably lung, colon, breast, ovarian, and bladder. So time to load up on this veg!

These cauliflower chickpea taco’s are incredible. I recently was introduced to this amazing meatless dish a couple weeks ago and I’ve made it several times since. It’s super easy, delicious, and the cost per meal is ridiculous. Originally found on She Likes Food (Yea I do!)

Cauliflower Chickpea TacosTaco Filling:

  • 1 head of cauliflower
  • 1¼ cup of cooked chickpeas
  • 1 teaspoon olive oil
  • 10-12 corn tortillas or desired shell (I’ve used lettuce wraps, which are super delish!)

FillingSeasoning:

You can adapt the seasoning based on what you might have on hand in  your spice cupboard – be inspired. 🙂

  • 1 teaspoon cumin
  • 1 teaspoon paprika
  • 1 teaspoon garlic powder
  • 1 teaspoon onion powder
  • 1 teaspoons salt
  • 1 teaspoon chili powder
  • 1 teaspoon dry mustard
  • ½ teaspoon smoked paprika
  • ¼ teaspoon black pepper
Coleslaw:
  • 1 14 ounce bag of cole slaw mix or 6 – 7 cups of thinly chopped cabbage and carrots
  • ½ cup of veganasie, mayonnaise or miracle whip salad dressing
  • ½ teaspoon dijon mustard
  • 1 teaspoon pure maple syrup
  • 1½ teaspoon apple cider vinegar
  • ¼ teaspoon celery salt
  • 1 pinch black pepper
  • Juice of one lime

ColeslawFilling

  1. Pre-heat oven to 375 degrees F.
  2. Prepare slaw: In a medium sized bowl add all of the slaw dressing ingredients. Mix ingredients together until a creamy sauce has formed. In a large bowl, add the cabbage mixture and pour dressing over. Mix until everything is combined. Place in the refrigerator until ready to use.
  3. In a small bowl add all of the seasoning ingredients and mix together.
  4. Separate all of the cauliflower florets and chop them into bite size pieces. Place florets and chickpeas onto a large sheetpan and drizzle with olive oil and sprinkle with seasoning. Toss everything together with your hands so that cauliflower and chickpeas are coated with spices. Place the sheetpan in the oven and bake for about 25-35 minutes (flipping occasionally).
  5. If desired, warm up corn tortillas in the oven. Add about ¼ cup of cauliflower and chickpeas to each taco and top with a few tablespoons of slaw. Top with your favourite toppings if you desire – I love adding avocado here!

Cauliflower Chickpea Tacos

The next best thing about this dish, is the leftovers! Warm up the filling the following day and use it as a salad topper – delish!

Keep Calm & Taco On. xx